Your commercial printer’s workflow may require that transparency be flattened. We discussed flattening transparency in this blog post.
The printer may have created a custom Transparency Flattener Preset which has the settings they require for their workflow. This post explains how to use such a preset.
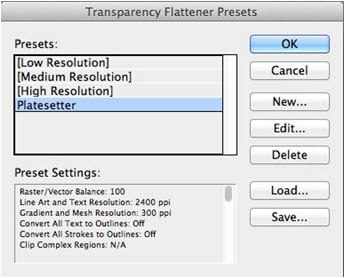
The first step is to load the preset. In Adobe InDesign, choose Edit > Transparency Flattener Presets. In Adobe Illustrator, choose Edit > Transparency Flattener Presets. In the dialog that appears, there will usually be three standard presets called [Low Resolution], [Medium Resolution] and [High Resolution]. Click the Load button, navigate to the preset the printer provided, and select it. It will then appear in the dialog as shown below (here labeled “Platesetter”).
The printer will then request that you create an Adobe PDF file using the Adobe PDF preset they requested. We discussed PDF presets here.
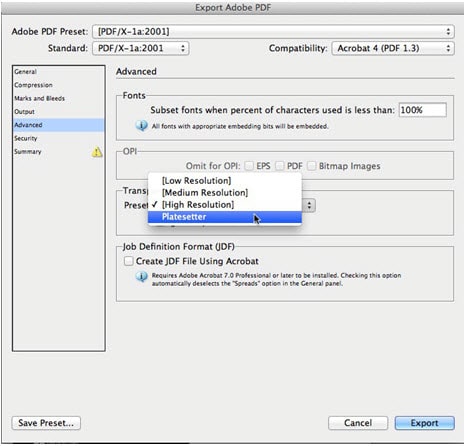
For example, if they asked you to choose the PDF/X-1a PDF preset, you would choose it from the Adobe PDF Preset menu in the Export PDF dialog box. On the Advanced panel, you would select the Flattener Preset from the list. If you’ve installed the custom preset, it will appear there as shown below.
Need help with your print? Talk to a live print expert today: 800-930-7978.


