Choosing the Best PDF Preset in InDesign
InDesign provides PDF presets so that you have fewer choices to make (and fewer details to actively remember). Presets group multiple panels of choices into the most common combinations for various workflows, such as commercial printing, desktop printing, and digital publishing.
But can you really trust a preset to take care of the piece you worked so long and hard to create? At the same time, how in the world would you expect to remember all of the available print options every single time you need a PDF?
Don’t worry about the learning curve; InDesign’s PDF presets aren’t standalone. If you’ve used other Adobe Creative Cloud applications to generate PDFs, you’ll likely notice something familiar about InDesign’s available preset options. You’ll find the presets in similar places when creating PDFs from both Illustrator and Photoshop.
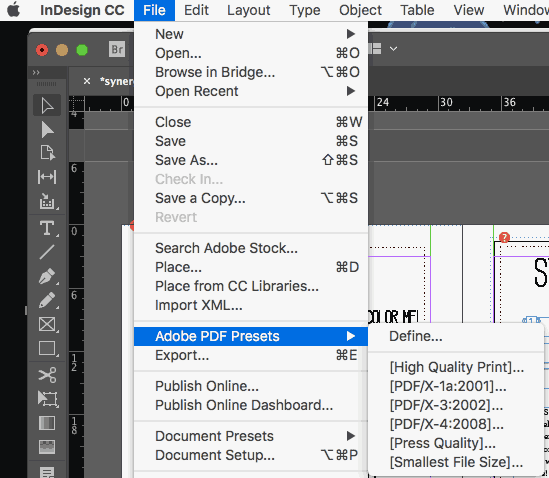
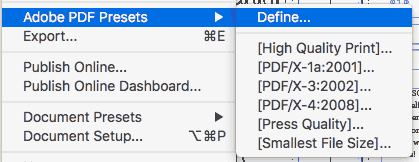
You can quickly access InDesign’s PDF presets right from a flyout in the File menu. Go to File → Adobe PDF Presets, and you’ll see all of your options right there.
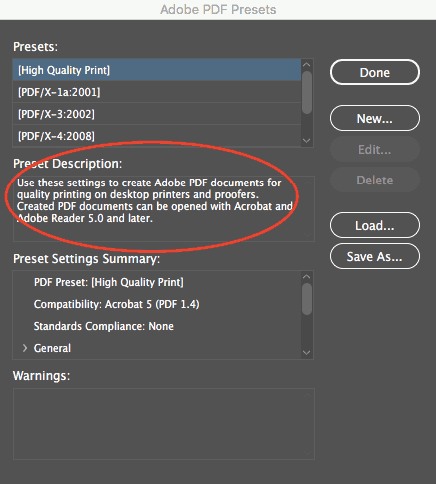
If you ever need a quick reminder of what a particular preset does from within your InDesign document, you can choose File → Adobe PDF Presets → Define, and as you choose each preset, you’ll see a straightforward “Preset Description” right there in the dialog box.
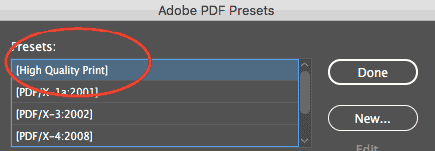
Let’s go ahead and look at the best applications for each.
“High Quality Print” PDF Preset
According to InDesign, this preset will produce PDF files suitable for “high-quality printing on desktop printers and proofers.” What settings are most suitable for this particular application? Both color and grayscale images above 300 ppi will be downsampled to 300. Colors are left alone, so RGB and CMYK images will each remain in their native color spaces.
All transparency settings will also be left alone. Note that Acrobat and Acrobat Reader 5 are the minimum versions required for compatibility with these preset settings (which shouldn’t be a problem these days).
What is PDF/X?
PDF/X standards are the best choice when your printer hasn’t provided you with specs. They’re a safe bet if you want to be sure your printer will be able to open your file, while also minimizing any printing errors. Adobe developed this set of ISO standards for print workflows by addressing input from other industry professionals and vendors. Because these standards are geared toward producing more universal print-ready PDFs, printers will often take the easiest route and encourage clients to choose the PDF/X presets.
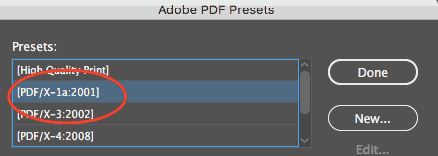
“PDF/X-1a:2001” PDF Preset
PDF/X-1a:2001 takes away compatibility with Acrobat 5 and downgrades it to Acrobat 4. All of your colors (whether RGB or CMYK) will automatically be converted to CMYK, although any spot colors you’ve set will stay intact.
You’ll also need to be proactive about transparency flattening, and may want to specify your own settings for transparency treatment.
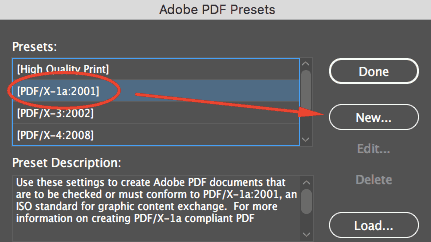
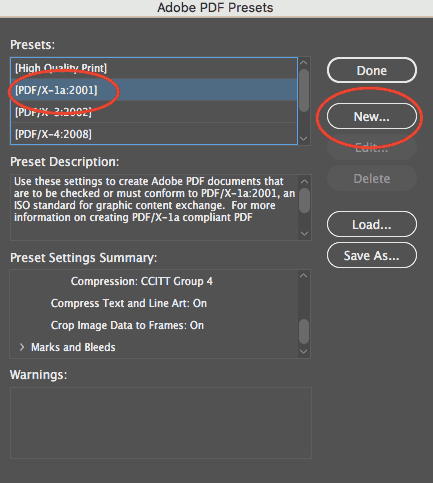
To do this, you can go to File → Adobe PDF Presets → Define as shown above, then choose “PDF/X-1a:2001” and click the “New” button.
Then, select “Advanced” from the left menu and use the “Transparency Flattener” down to make your choice.
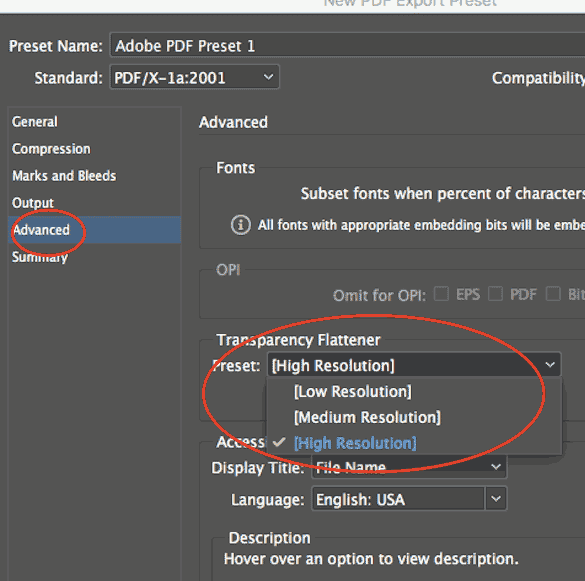
The “High Resolution Transparency Flattener” preset will best maintain the quality of your text and vectors, if that’s what you want. All images above 300 ppi resolution will be downsampled to 300 ppi if you have they’re higher.
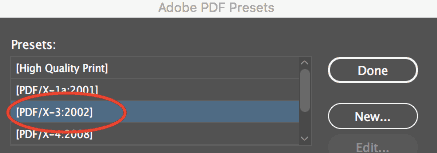
“PDF/X-3:2002” PDF Preset
Again, with this preset, your transparency will be flattened. If you want to choose your transparency settings proactively, you can follow the same instructions as above. PDF/X3:2002 is like the previous PDF/X setting, except it allows embedded RGB profiles to remain (no automatic conversion to CMYK).
It’s a helpful setting if your printer is planning on optimizing the color based on the printing environment. European printers tend to make more use of this format than American printers.
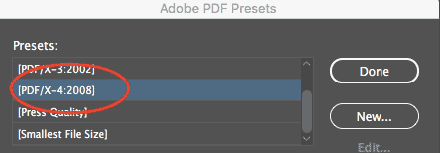
“PDF/X-4:2008” PDF Preset
With this PDF/X present, since compatibility is set to the more recent Acrobat 7, you’ll be able to keep any transparency in your document intact.
This is the biggest advantage of the PDF/X-4:2008 formatting. You’ll also be able to maintain the quality of any high resolution images. Color-wise, you’re allowed to use RGB, CMYK, and greyscale. Your spot colors will stay intact, and you can even continue to use LAB or ICC profiles.
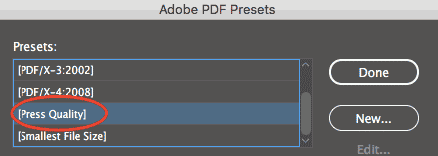
“Press Quality” PDF Preset:
This is another bundle of settings that’s often commonplace when working with high-quality commercial printers. This preset will allow you to keep all transparency live in the document (no flattening required). Adobe Acrobat works well with live transparency, and also creates satisfying separations, so a printer who works out of Acrobat will be happy with any file output this way. It will be compatible as far back as Adobe Acrobat 5. Any RGB values will be converted to CMYK, and all images will be downsampled to 300 pp in cases where the actual resolution is higher.
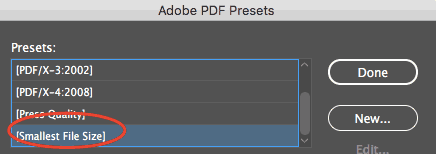
“Smallest File Size” PDF Preset:
“Smallest File Size” is most important where size matters, and size matters most on the web. In order for your document to be accessible to as much of your audience as possible, you’ll want to choose this preset for anything you’re planning to send via email or display on a screen.
Anything that’s both color and high resolution will automatically be downsampled to 100 ppi. Grayscale images can stay as high as 150 ppi. You’ll be able to play well with anything as far back as Acrobat 6, and you can keep your transparency and any layers intact.
Custom InDesign Presets
The above settings will satisfy your print-worthy document needs almost all of the time, especially when you’re part of a professional environment using a typical print workflow. If, however, you have special considerations (or just want to get fancy), there’s more than one way to customize presets for your needs in InDesign.
We don’t need to cover every possible preset customization, but here are a couple of suggestions for more common needs:
- If you need to make your InDesign files interactive once saved as PDFs, you can go to File → Adobe PDF Presets → Define, then choose your preset setting and hit “New.”
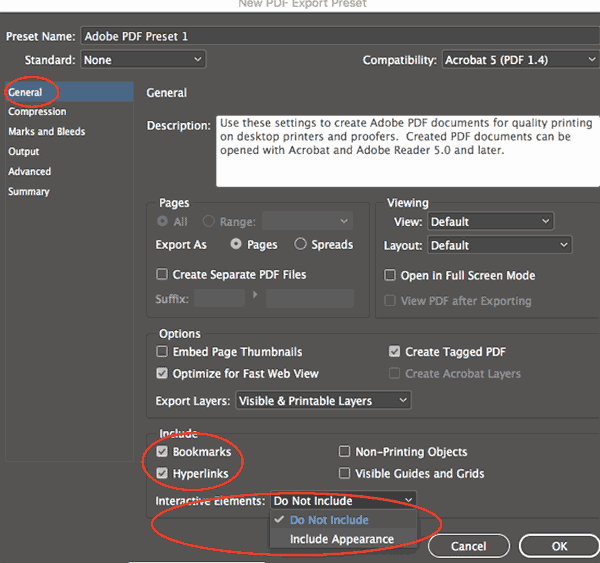
- Then, choose “General” from the left side menu and pick your desired Hyperlinks and Interactive Elements from the bottom of the dialog:
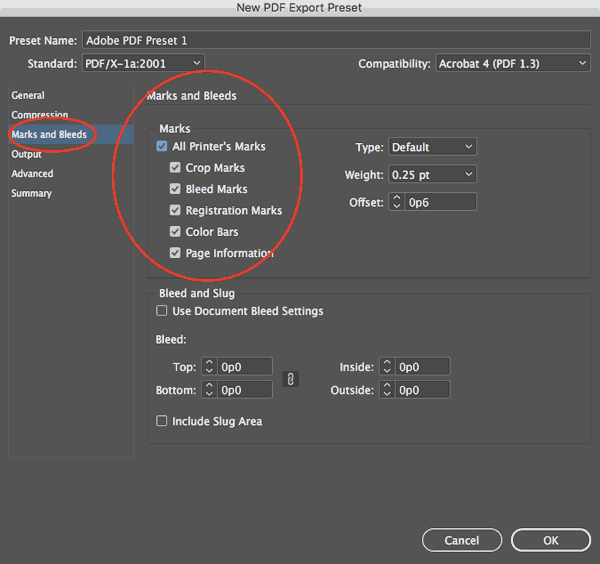
- If your printer is asking you for crop marks, bleed marks, or other printer’s marks, you can go to File → Adobe PDF Presets → Define, then again choose your preset setting and hit “New.”

- Then, in the dialog box, choose “Marks and Bleeds” from the left side menu and check the box for “All Printer’s Marks” in the top section.
Saving Your PDF Preset
Once you’ve added your additional customizations to any of the PDF Presets in InDesign, you’ll want to name your preset in the top field of the dialog box.
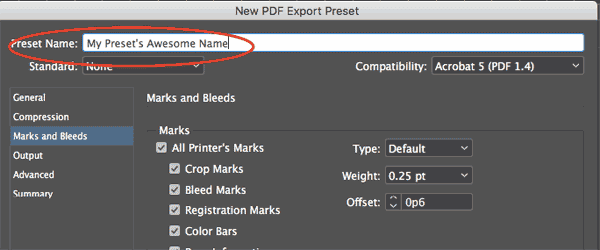
Then, click the “OK” button at the bottom right of the dialog box.

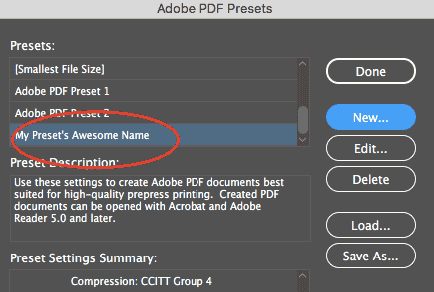
Your preset will have automatically been added to the Adobe PDF Presets dialog.
Congratulations, and happy customizing!
Need help with your printing? Talk to a live print expert today: 800-930-7978.
